Skip to main content
Home
Dr. Okamoto
Meet Dr. Okamoto
Online Reviews
Blog
Breast
Breast Procedures Overview
Breast Augmentation
Breast Lift
Breast Lift with Implants
Breast Reduction
Breast Asymmetry
Mommy Makeover
Gynecomastia – Male Breast Reduction
Body
Body Procedures Overview
Liposuction
Tummy Tuck (Abdominoplasty)
Buttock Augmentation With Fat Transfer
Arm Lift & Thigh Lift
CoolSculpting
®
Mommy Makeover
Face
Face Procedures Overview
Facelift
Browlift / Forehead Lift
Eyelid Surgery (Blepharoplasty)
Facial Fat Transfer
Facial Implants
Otoplasty
Nose
Nose Procedures Overview
Rhinoplasty
Asian Rhinoplasty
Revision Rhinoplasty
Liquid Rhinoplasty
Men
Male Plastic Surgery Overview
Non-Surgical
Non-Surgical Procedures Overview
CoolSculpting
®
Dysport
®
Injectable Dermal Fillers
Laser Skin Resurfacing
miraDry
®
for Underarm Sweating
Non-Surgical Facelift
Sculptra
®
Aesthetic
Liquid Rhinoplasty
Photo Gallery
Med Spa
Contact
Contact Us
Financing and Payment Options
866.514.7155
Home
|
Gallery
|
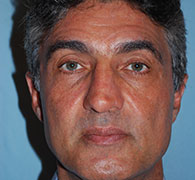
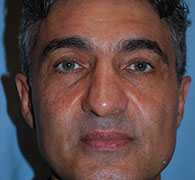
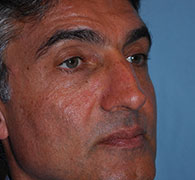
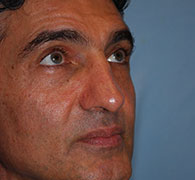
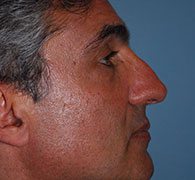
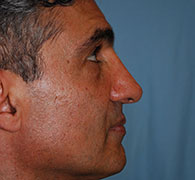
Rhinoplasty
|
Patient 1
Patient 1
Back to Gallery
Before
After
*Individual Results May Vary
Next